| Panel | ||||||||||
|---|---|---|---|---|---|---|---|---|---|---|
| ||||||||||
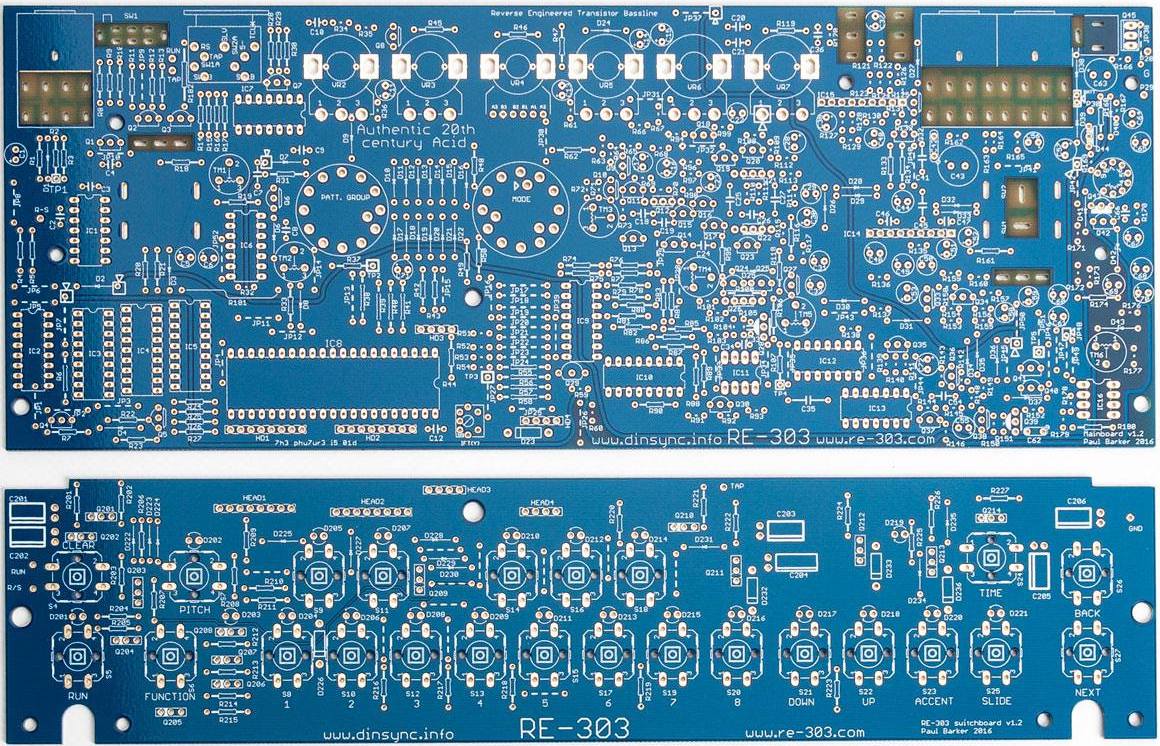
Projecttitel: DINSYNC RE-303Status:
Startdate: 2016Duedate: 09/2018last update : 02/2023Manufacture link: http://privat.bahnhof.se/wb447909/dinsync/re-303/Forum : http://23.235.199.139/~re303c5/forum/ |
...
MOUSER BOM project card: https://www.mouser.at/ProjectManager/ProjectDetail.aspx?AccessID=0324e99177
plus tactiles: 688-SKQEAA
| Info | ||
|---|---|---|
| ||
ift(y): yellow coil for the original cpu clock |
Buildguide v1.2
(source: https://shop.re-303.com/build-it/)
| View file | ||||
|---|---|---|---|---|
|
Issue/Help
| ID | Issue | Issue/Mod Description and fix |
|---|---|---|
| 1 | Gate | in case you hear the gate signal - attack clicks - you can try to connect a 100nF polar cap** between GND and Trigger. Measure with an scope to find the best value - maybe you need a bigger value 220-470nf |
Pixie CPU (the better Version)
...
https://github.com/sunflowr/recpu
...
FW manual 1.4.3
Firmware Installation (on your own risk)
- turn on and send 303.sysx with sysex librian tool
- turn off and on again
- send the boot loader sysex (1.30 version)
- turn off
- turn on while hold Step1 (all lets flashes like night rider mode)(some older boot loaders don't have the night rider mode)
- now send the REEMU 1.3.0 sysex
- machine restarts byself in 1.3.0 mode
- turn off and on the 303
- send the 303 sysx (optional)
- reload the boot loader 1.4.3 in boot loader mode (hold step1) and upload the REEMU 1.4.3 sysex
Sonicpotions CPU: (deprecated ) pls. use the Pixie CPU
Julian from Sonic Potions developed a CPU for the RE303, this CPU is also an replacement for TB-303
...
you can also use a Bassbot TT-303 case (the first 303 style case)

Buildguide v1.2
Modifications:
http://www.ladyada.net/make/x0xb0x/mods.html
Potentiometer Modification:
Available in my shop: (shipping starts end of June 2020)
...
(source: https://shopwww.re-303diysynth.comde/buildpcbs-itpanels/)
| View file | ||||
|---|---|---|---|---|
|
Case Assembly guide
RE-303_case_assembly_guide.pdf
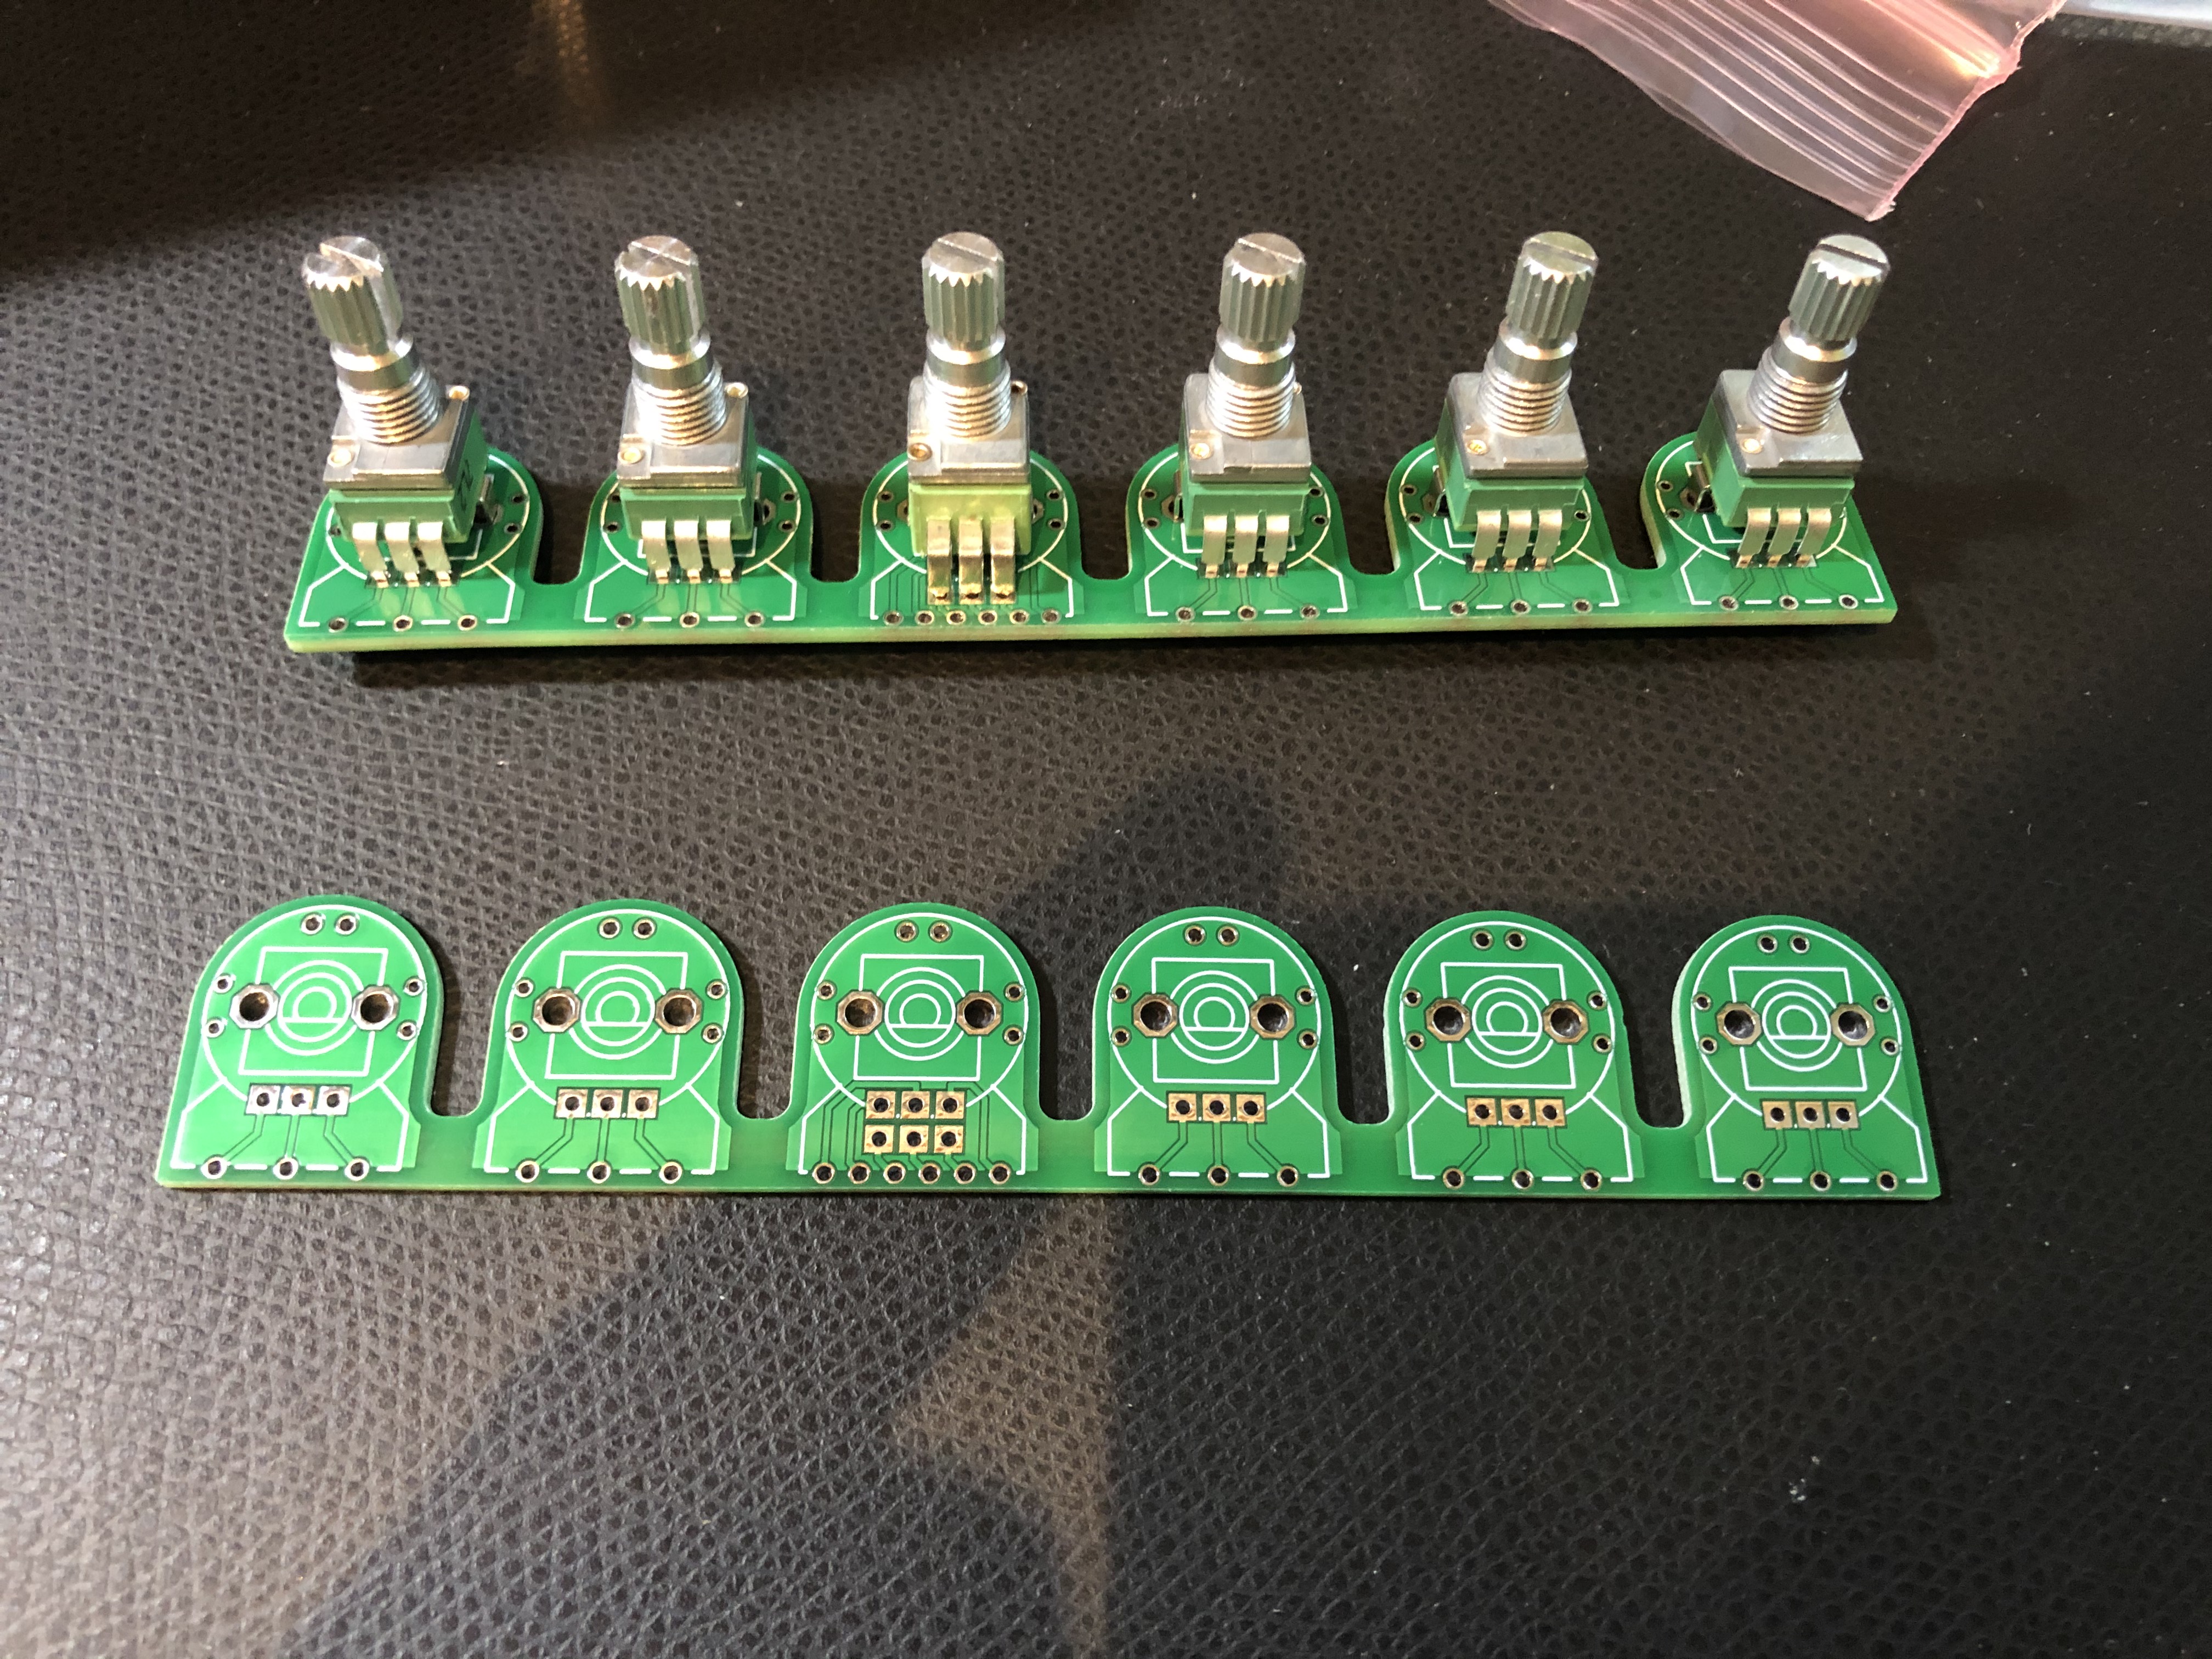
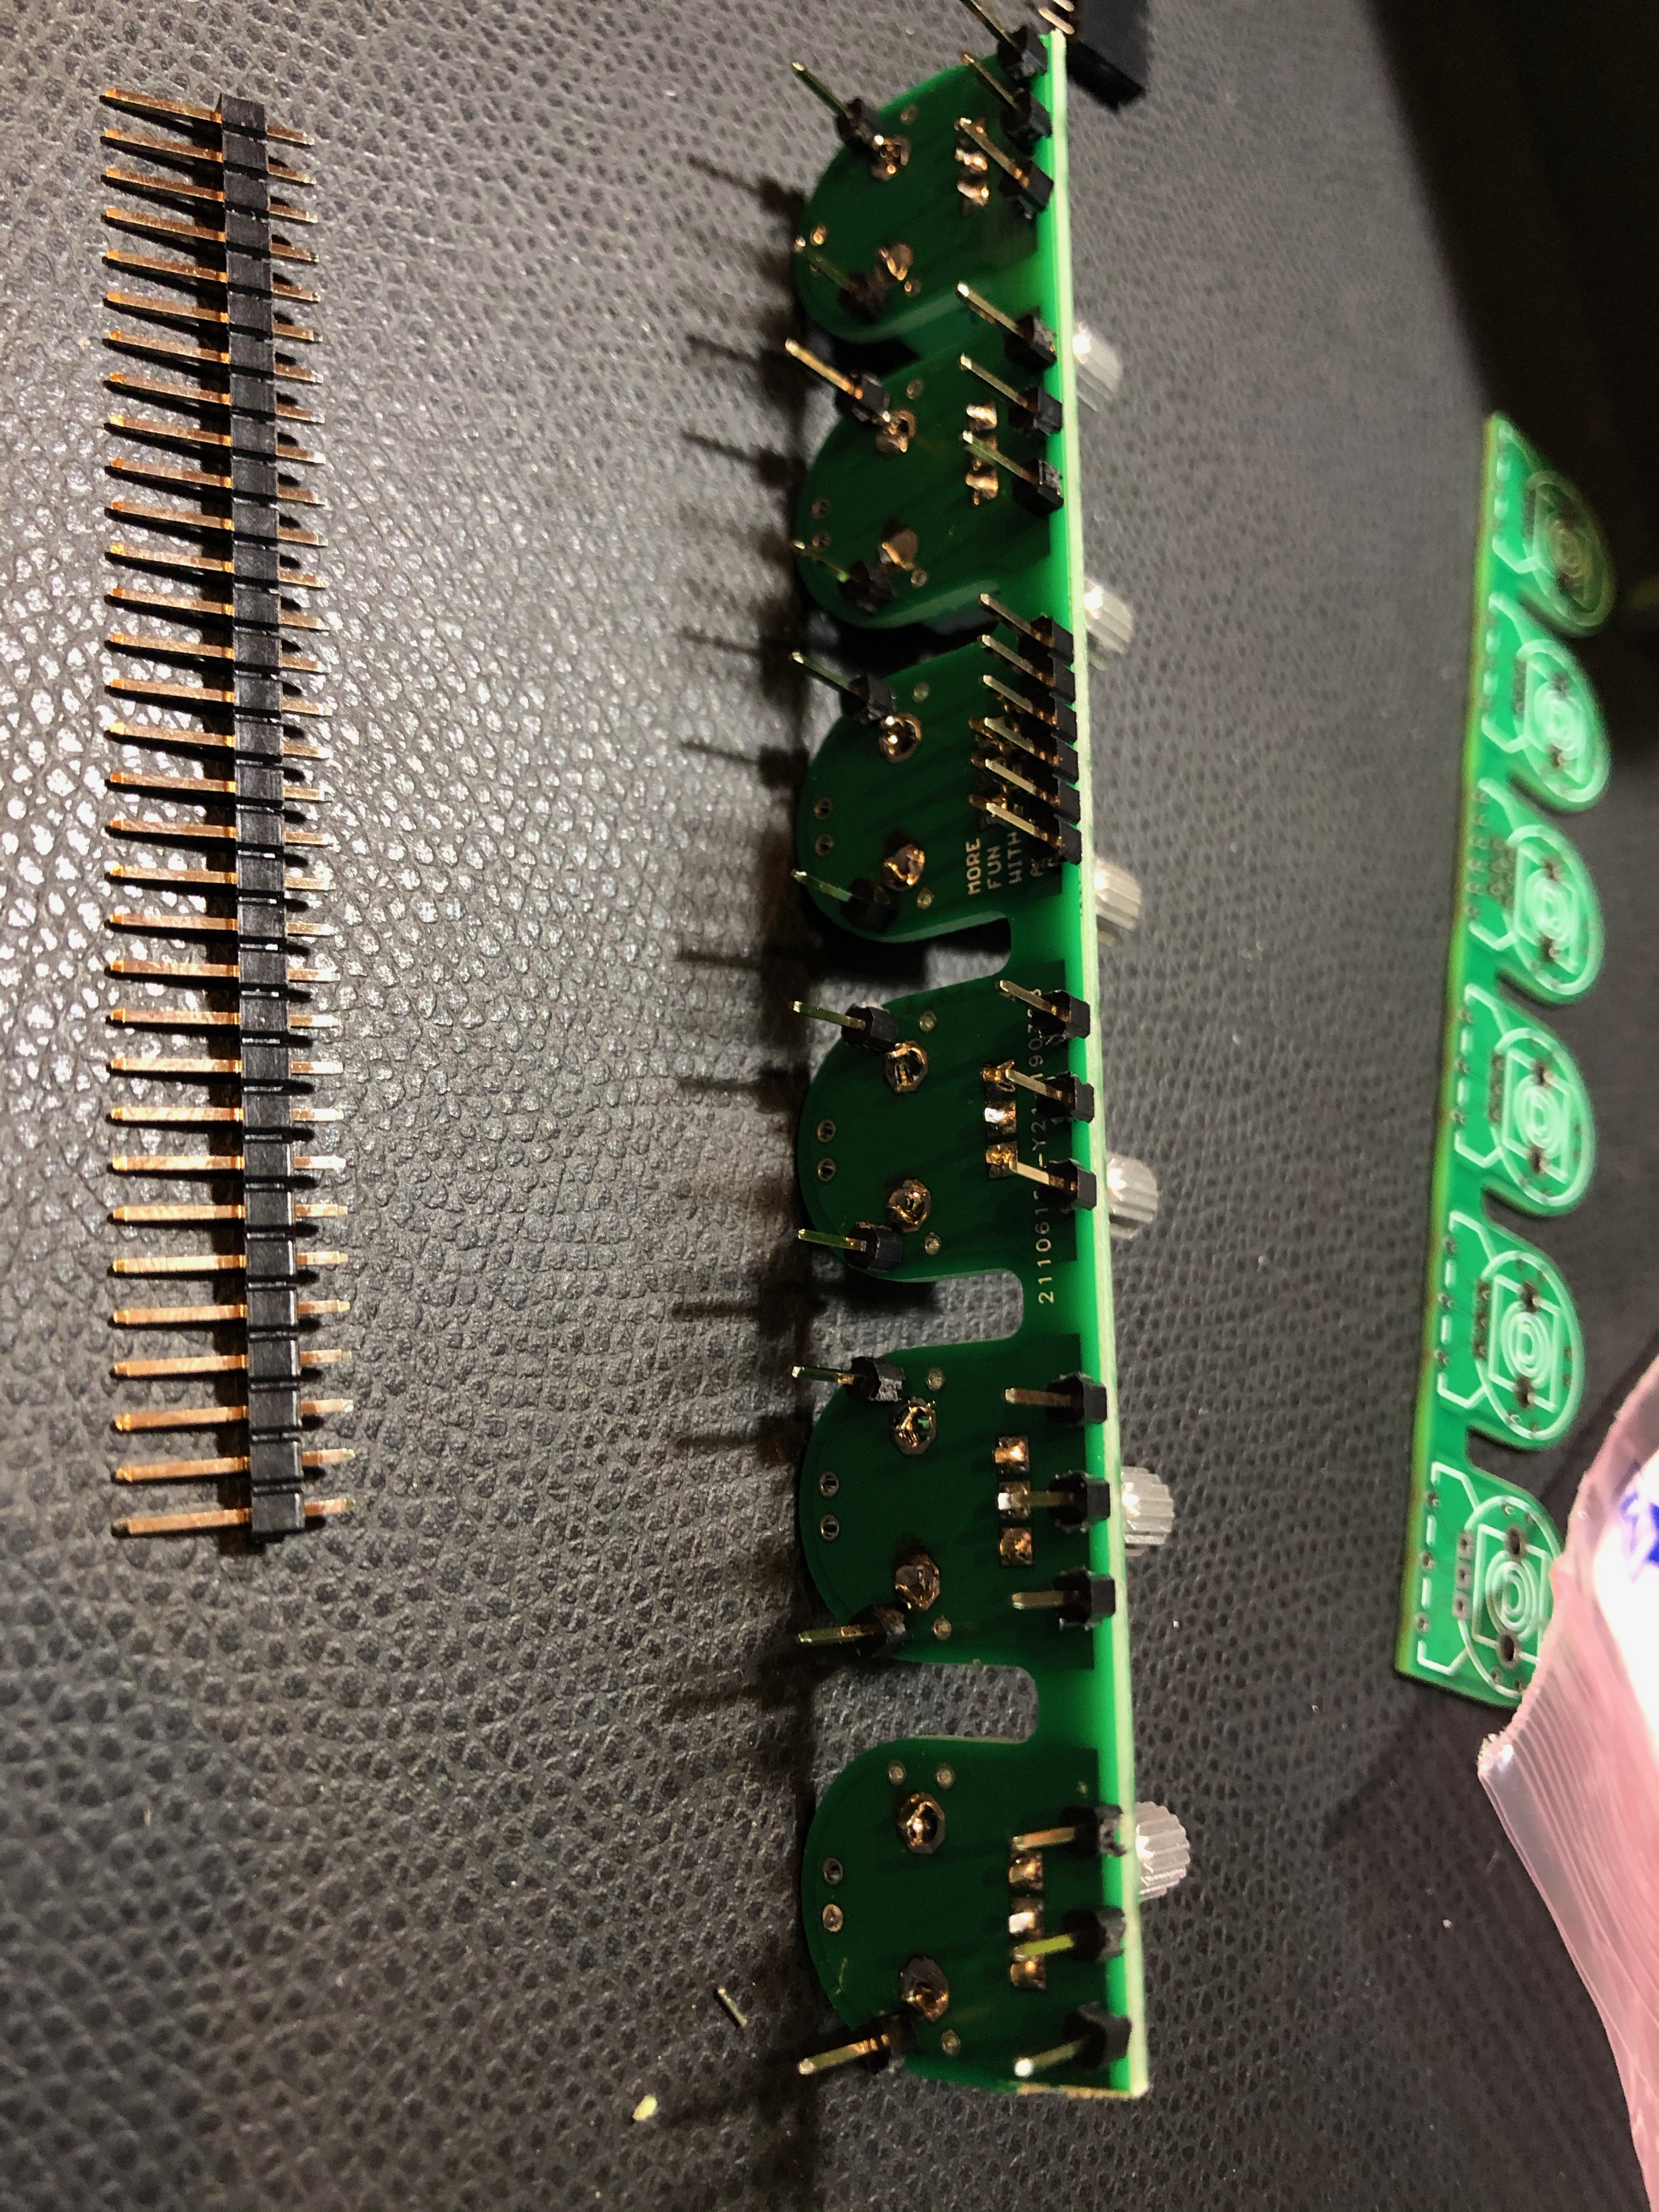
no wobbling potentiometers anymore !!!
ask me if you need/want this solution, i left some pcbs..
you also need for the Midi Jacks an adapter.
BOM:
you need one of this Stereo Pot: (VR4 in the 303)
VR4 B50K Stereo !! (linear stereo)
VR2, VR7 = 50KB (lin)
VR3, VR5 =50KA (log)
VR6 = 1MA (log)
in total 6 potentiometers
https://www.thonk.co.uk/shop/alpha-9mm-pots-vertical-t18/
and you need:
pinstripes as shown above in my pictures.
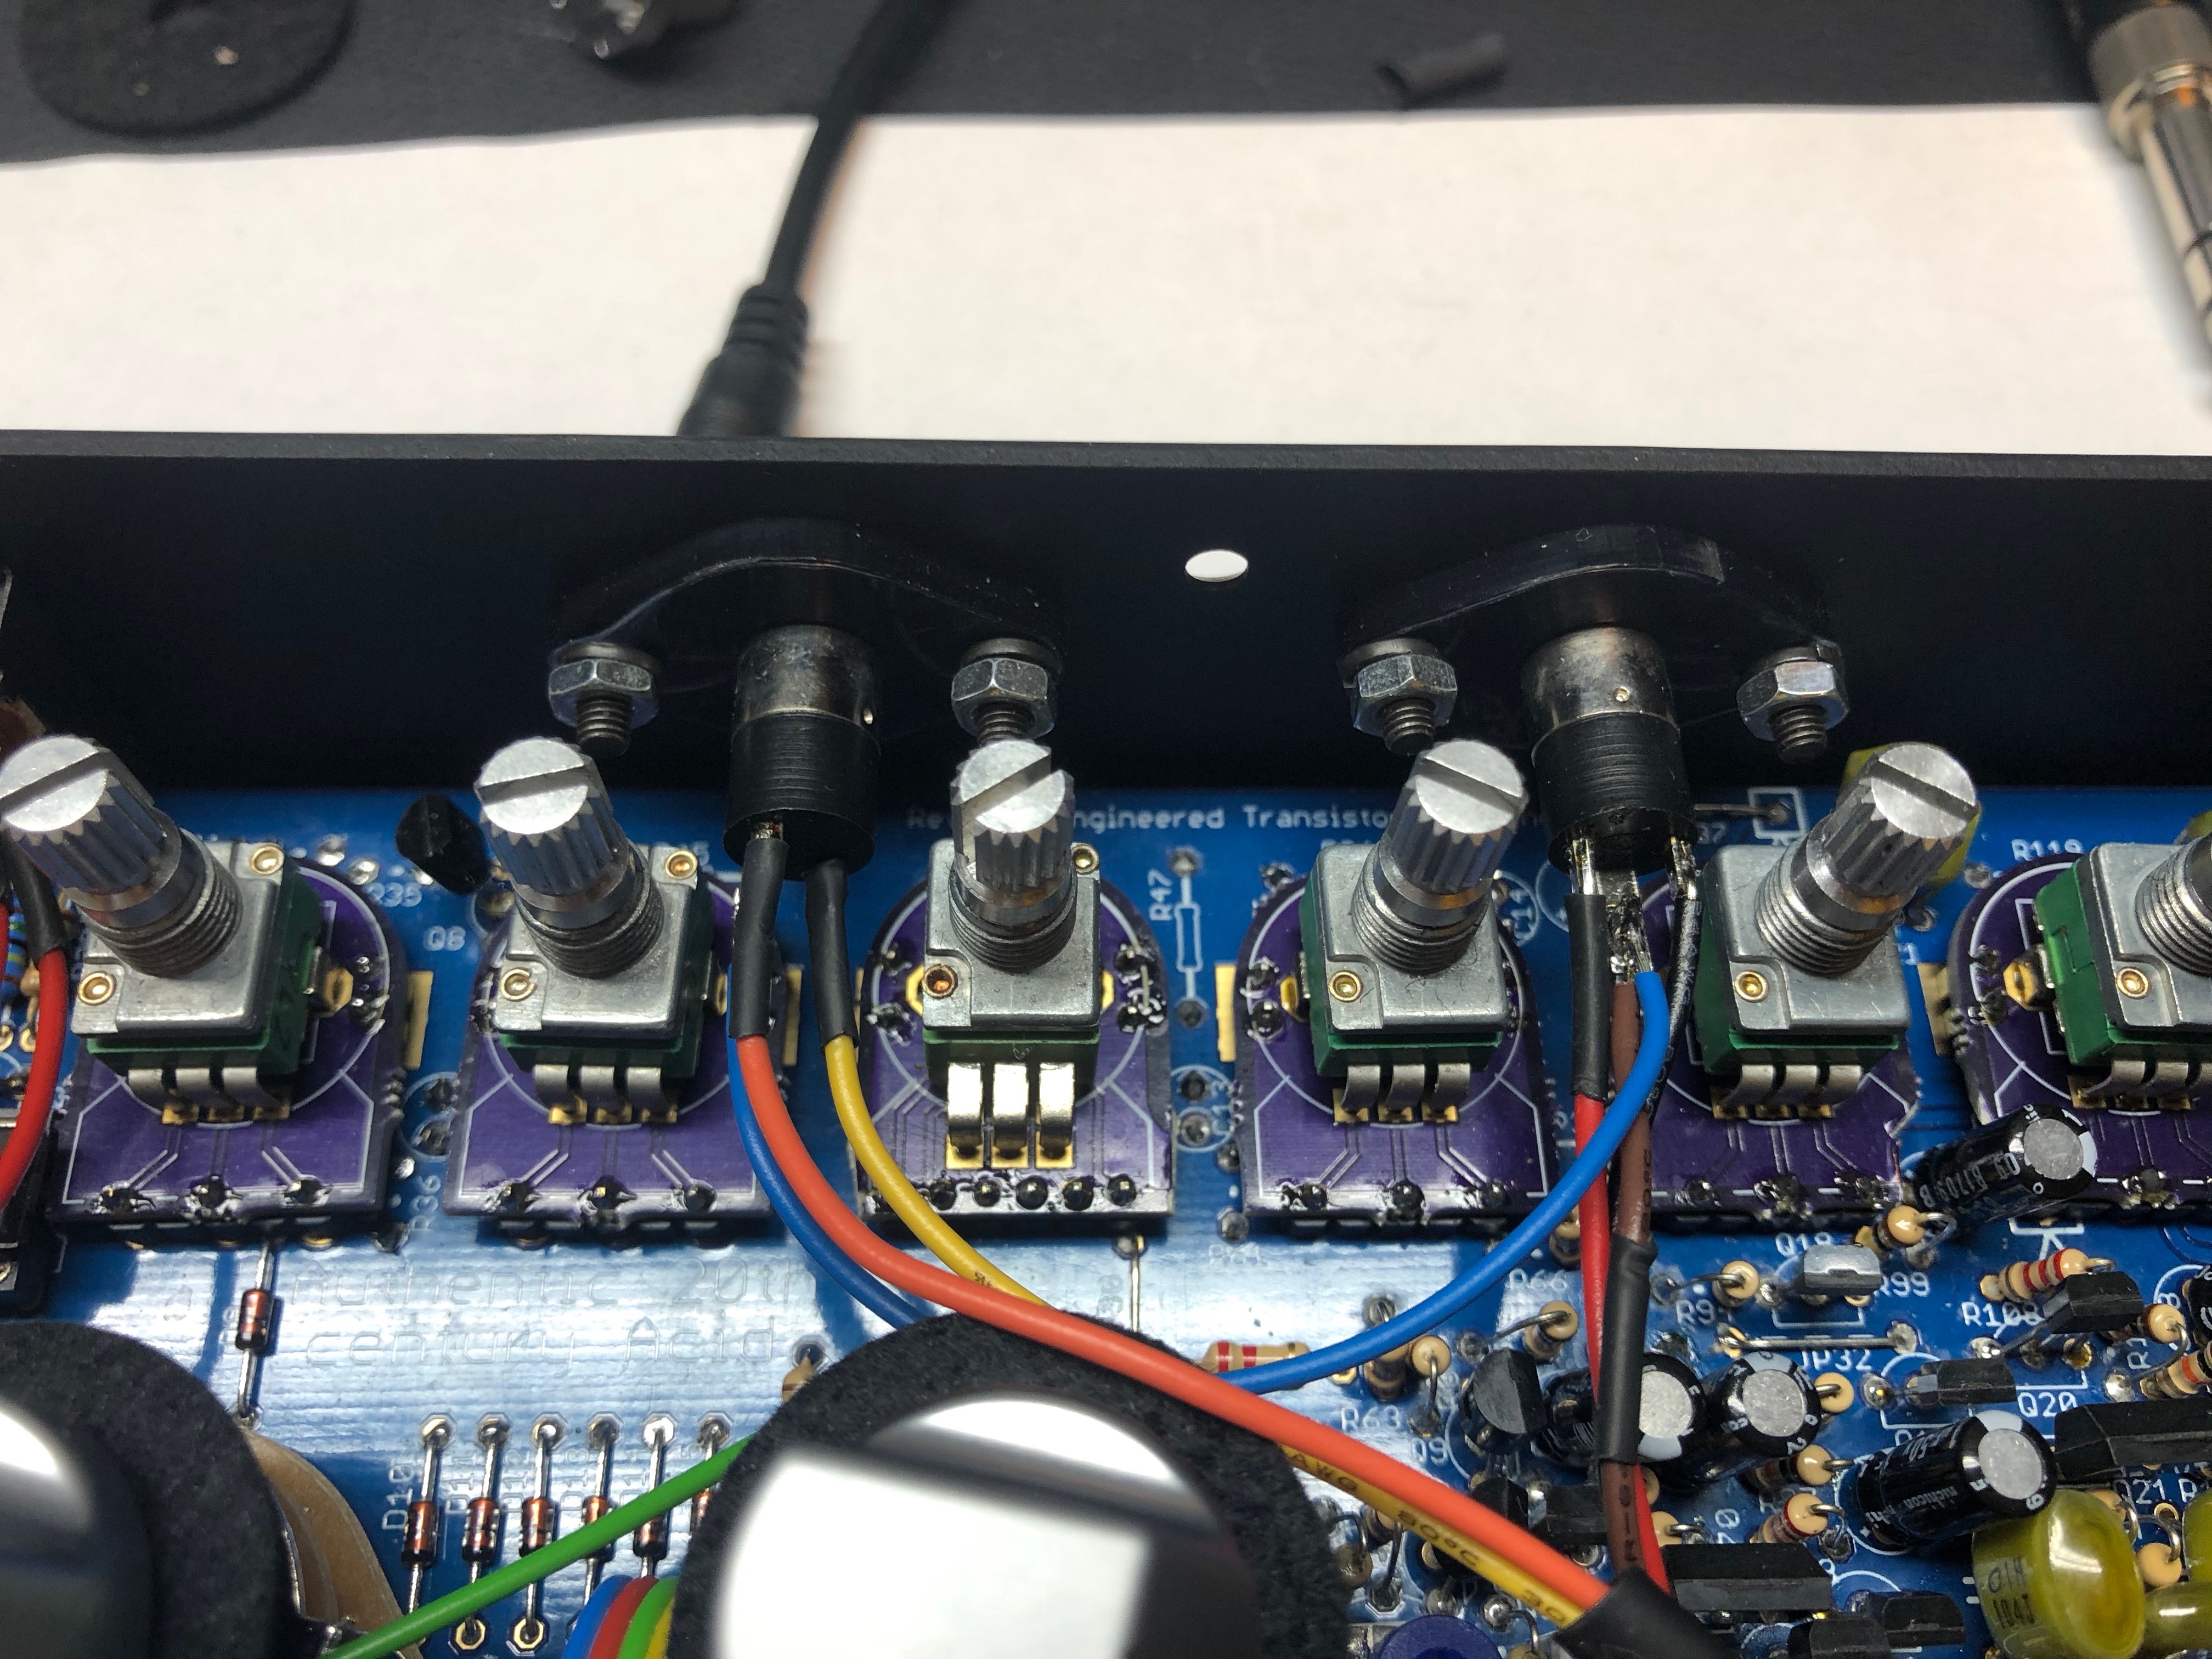
2x 3.5mm (1/8inch) stereo jacks Lumberg KLB-4 which is available worldwide in hundreds of shops - its a quality part.
2x Adapter for the Midi holes to use the 3.5mm jacks - ONLY if you use the RE-303 Aluminum case - this are included with the PCB order in my shop !
2x 3.5mm (1/8 inch) plug to MIDI Cable - thonk or make your own.. https://www.thonk.co.uk/shop/alm-midi-trs-cable/ or DIY: NYS322 + 172-7435-E (mouser) you also need for the Midi Jacks an adapter.
update 01/2020: ground the MIDI IN port too, that's needed because the acrylic's adapter to the stereo 3.5mm jacks are isolated
...
the blue cable connects ground from MIDI out to the MIDI IN jack.
Battery Tray - optional
You will need 5x 1.2V AA batteries, get the ones from IKEA, they're from the same factory as the Eneloop ones but for a fraction of the cost.
Unless you can find a 5x AA battery tray best bet is to 3d print your own.
Then follow the official guide for installing the battery tray.
It is important to fit a 10 Ohm resistor as in this photo.
DIN JACK Connector with integrated switch
assembled versions are here:
Switching+DIN+Sync+Jack+Assembly+&+Installation.pdf
or create your own by 3D print it (SLA)
Switching DIN Sync Jack - housing.stl
Switching DIN Sync Jack - actuator.stl
- Switch: Alps Alpine SPVQ910205
- DIN 5 Jack: Multicomp PSG03463
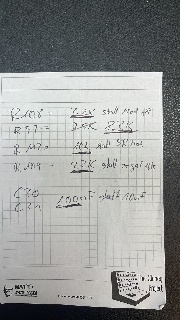
my own VCF Resonance modification:
the underlined lines are the value which I installed, you should use milled ic pins to make testing and replacement to your favorite sound easier
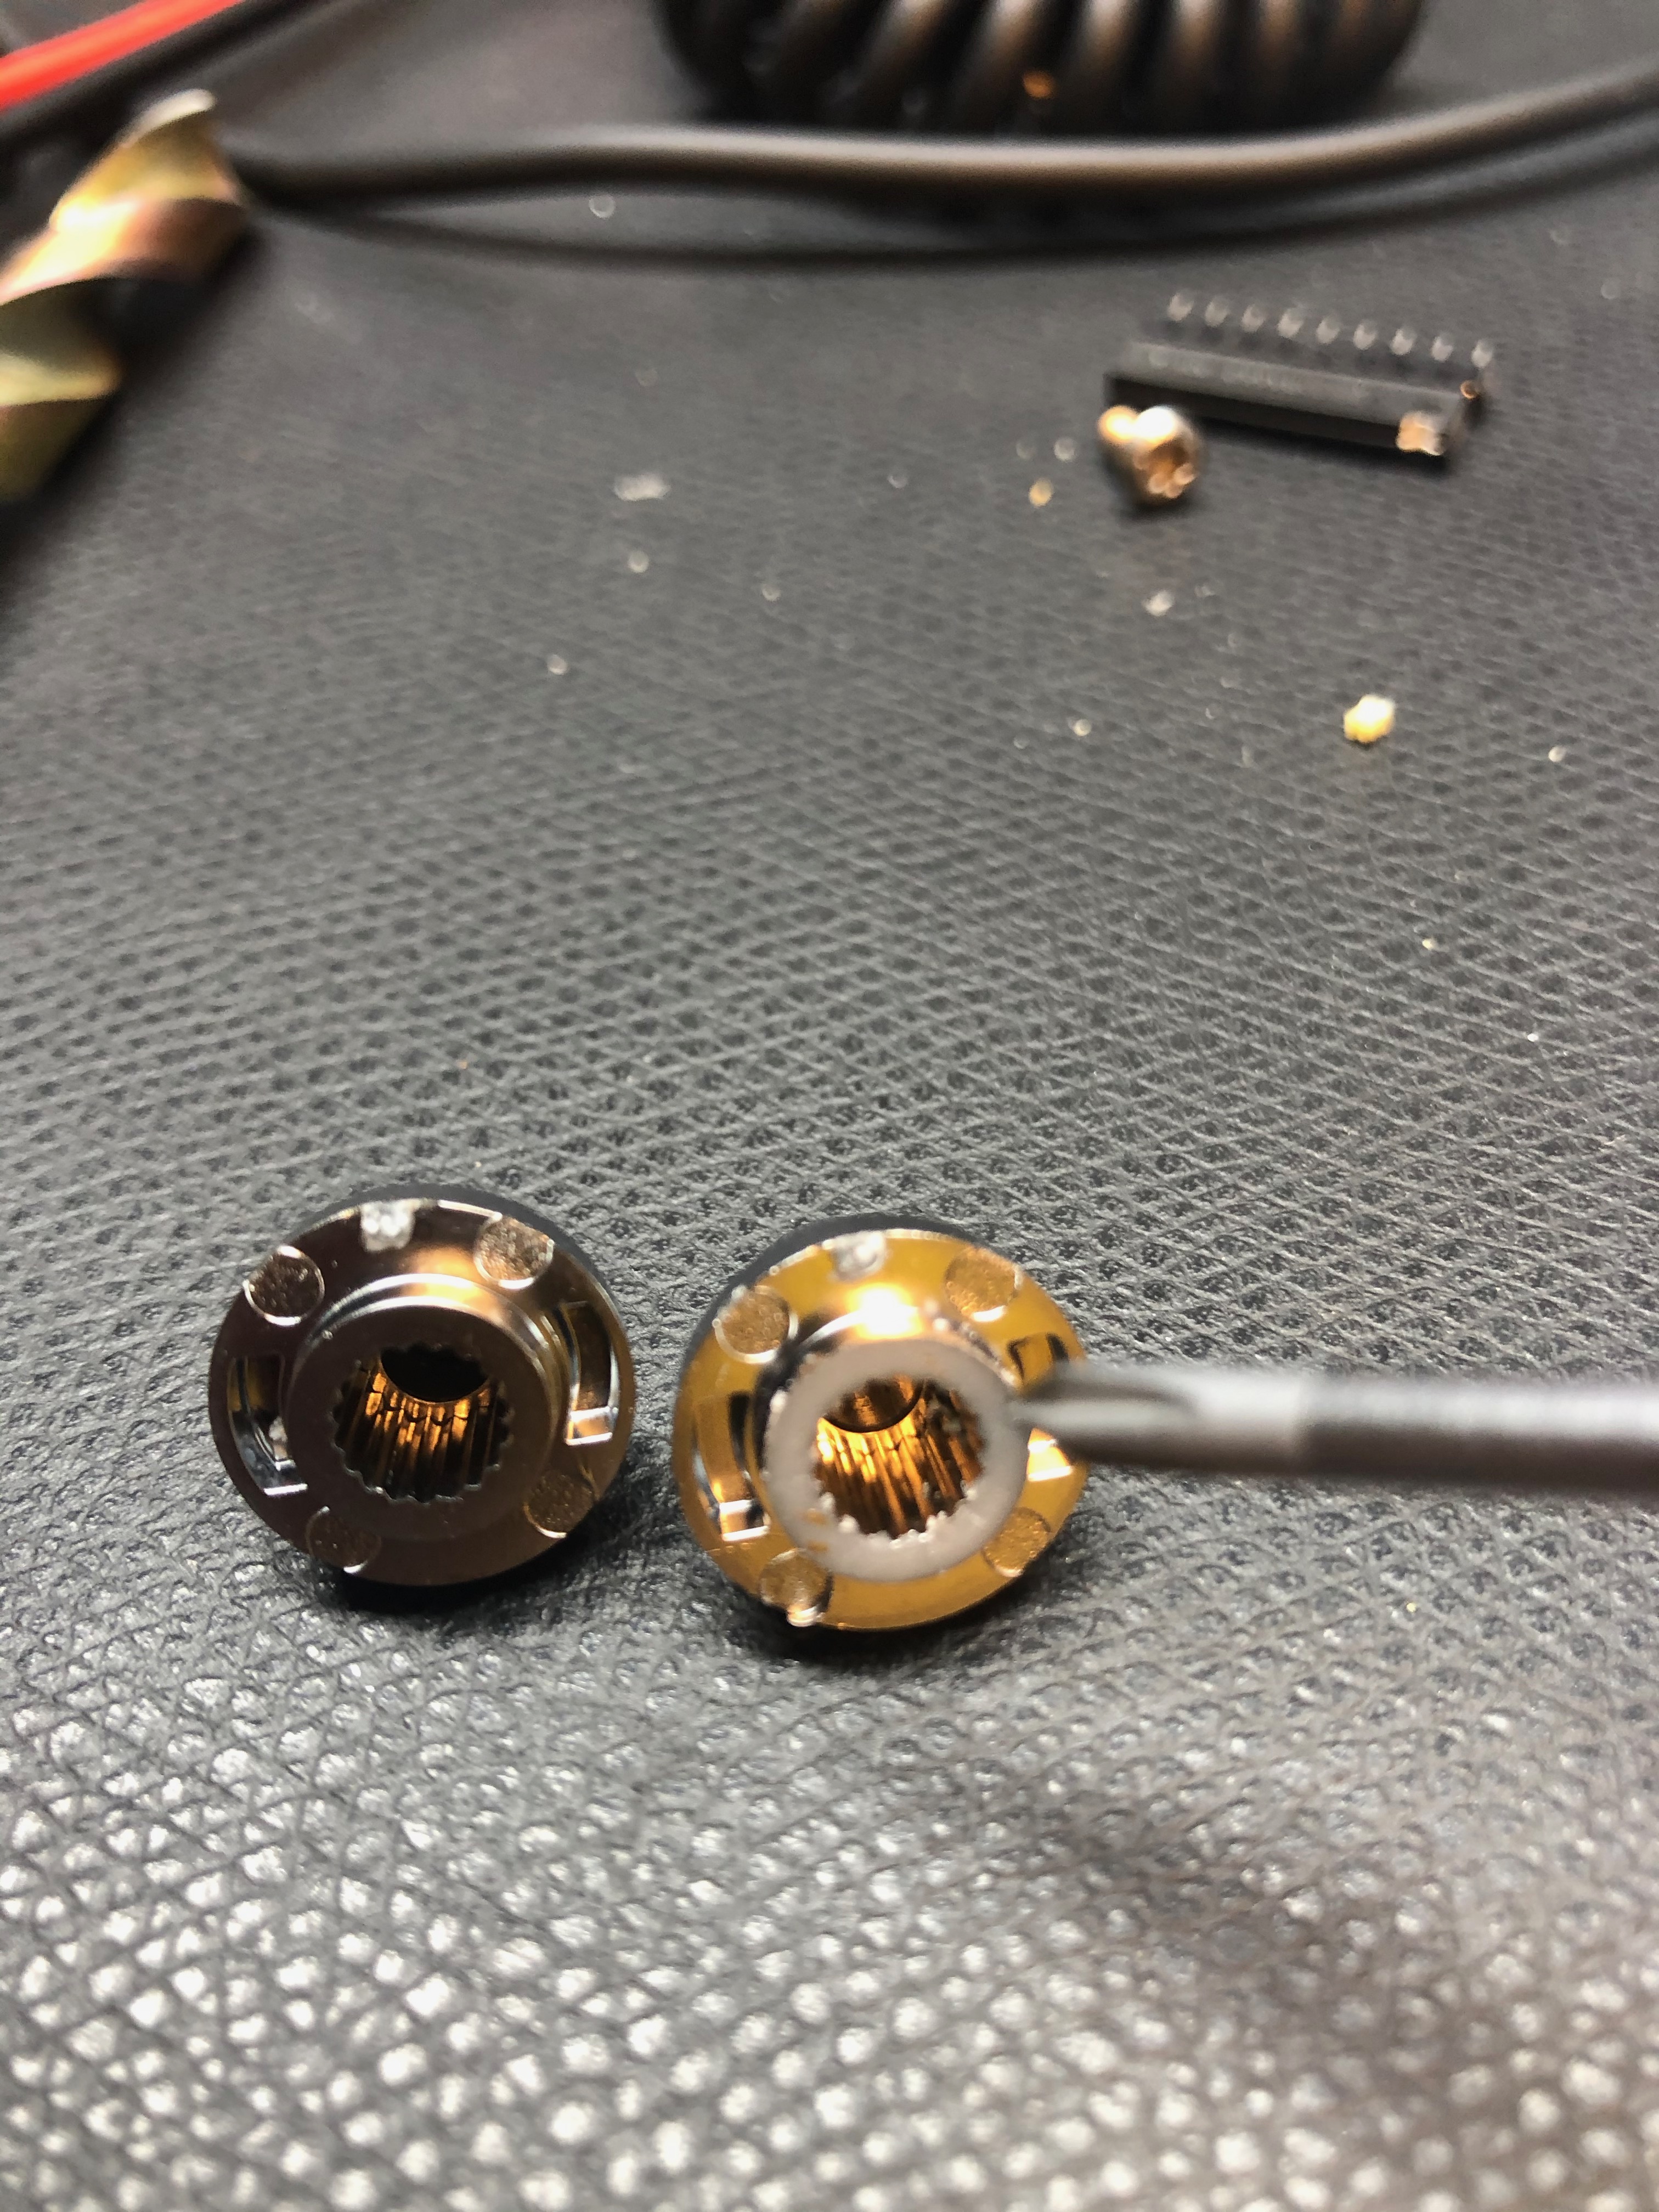
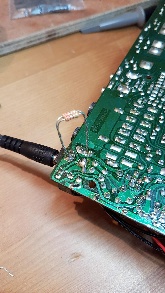
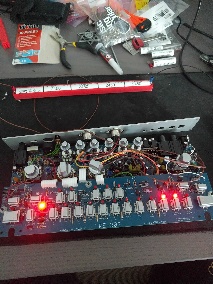
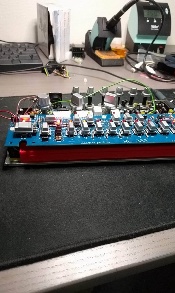
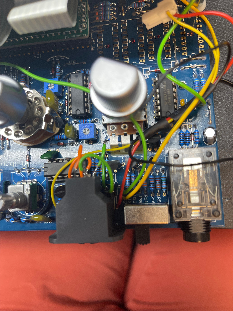
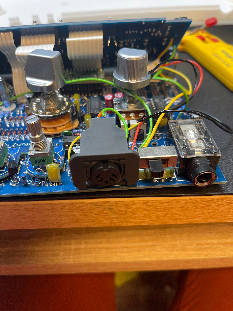
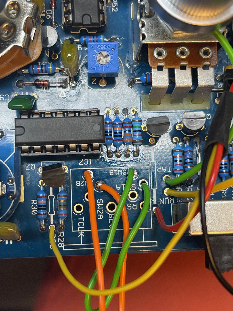
Random pics: